
Homemade Cherry Pie, just like Grandma (or in my case, Grammie) used to make. Made with red tart cherries that make this dessert so delicious and will have you going back for seconds. In this post, I am going to show you how to make one of the best cherry pies I have ever tasted.
Best cherry pie recipe EVER!
This recipe was given to me by my Mother-In-Law, Kathy. She is one hell of a cook/baker! So far, I love every single thing she makes. She’s the best!
My husband, her son, absolutely loves this recipe. I swear he could eat this entire homemade cherry pie in one sitting.
He also has some competition because our son, Kelly, loves this cherry pie recipe as much as he does. As they say, Like father, like son.
Whenever I make this recipe he will threaten the kids by saying that it was made just for him and he doesn’t have to share. HAHA!
Our middle will just roll her eyes and say, “Whatever” but our youngest will argue with him till he is blue in the face. It’s rather comical.
Needless to say, Kathy’s cherry pie recipe is a huge hit in our house.
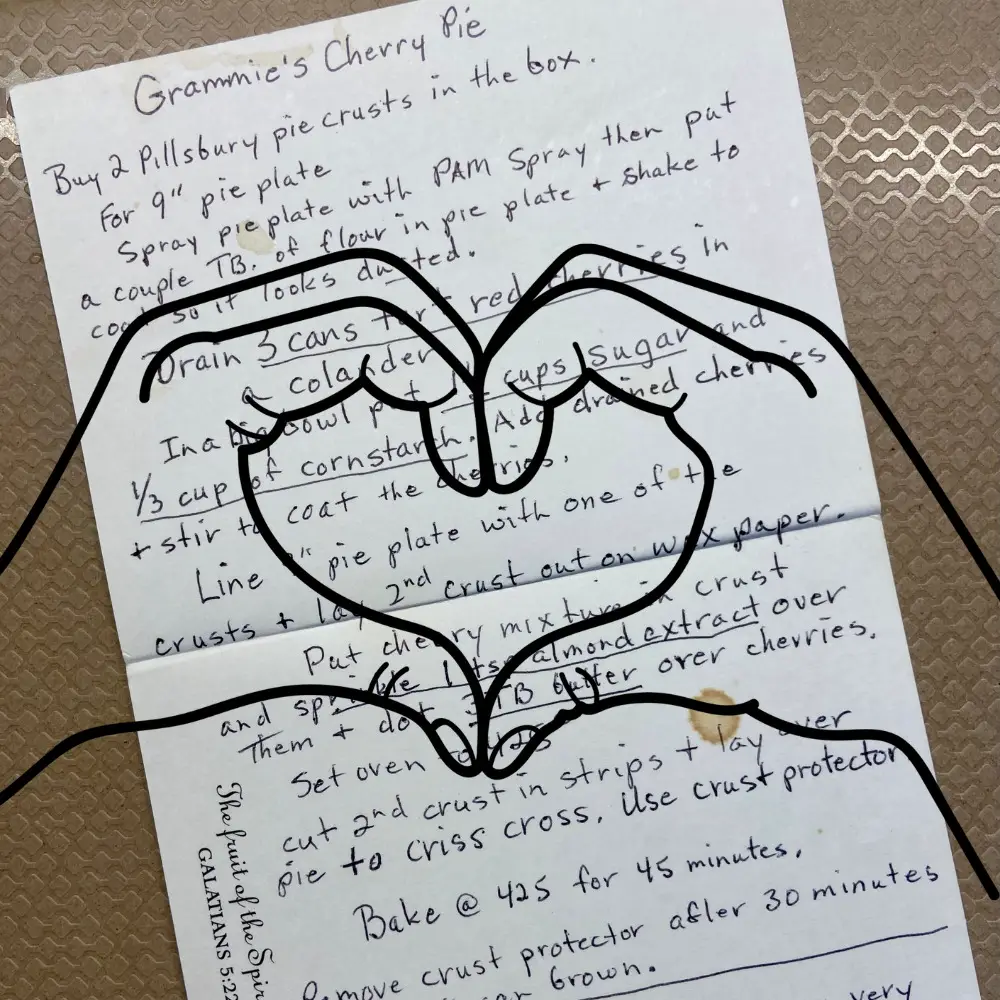
Homemade Cherry Pie
- 3 Cans Red Tart Cherries
- 1 Box Refrigerated Pie Crusts, 2 ct
- Sugar
- Cornstarch
- Almond Extract
- Butter
- Flour
- Nonstick Cooking Spray
First things first, preheat your oven to 425°.
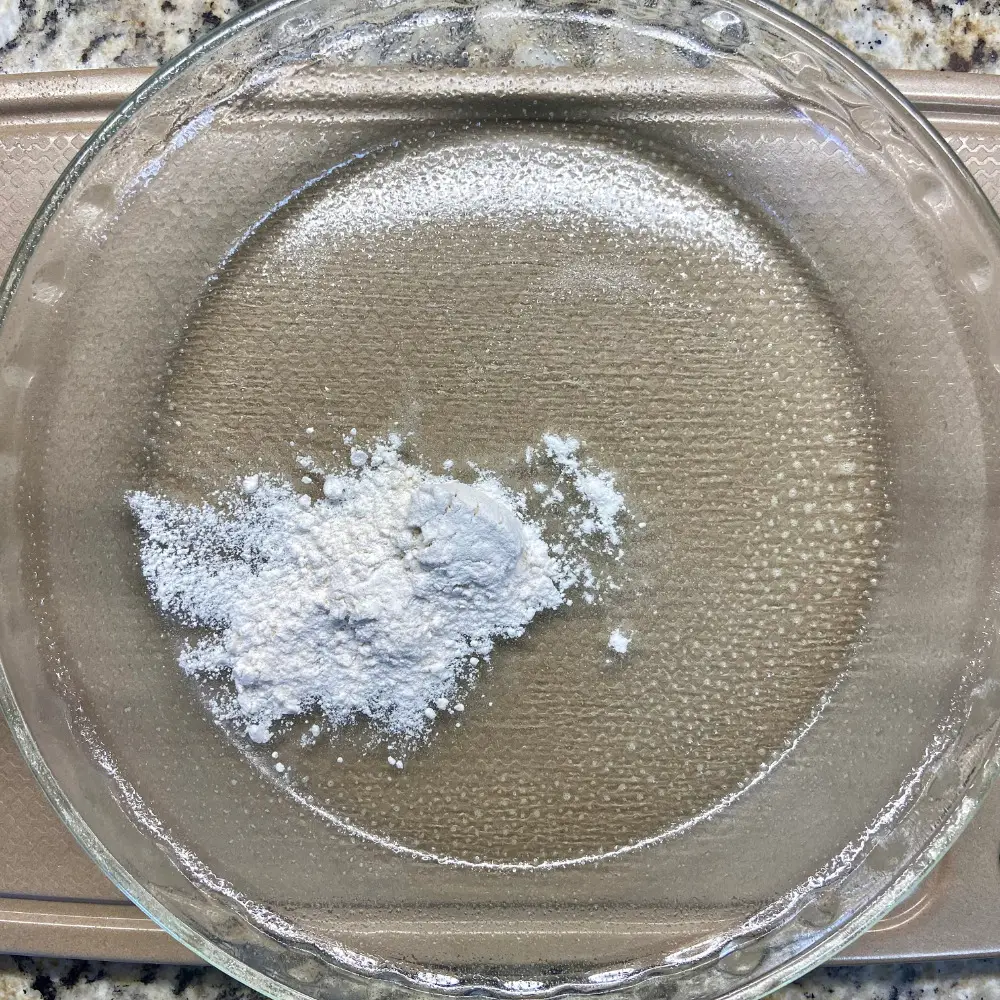
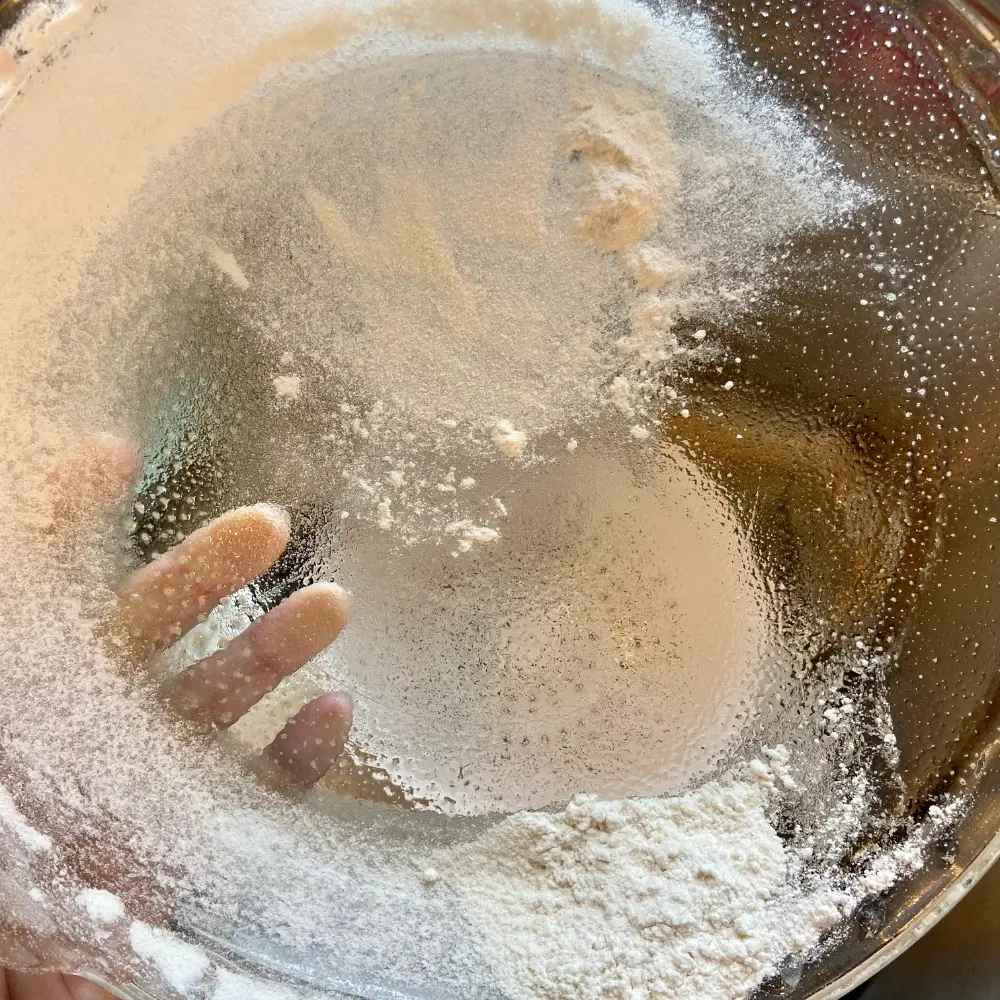
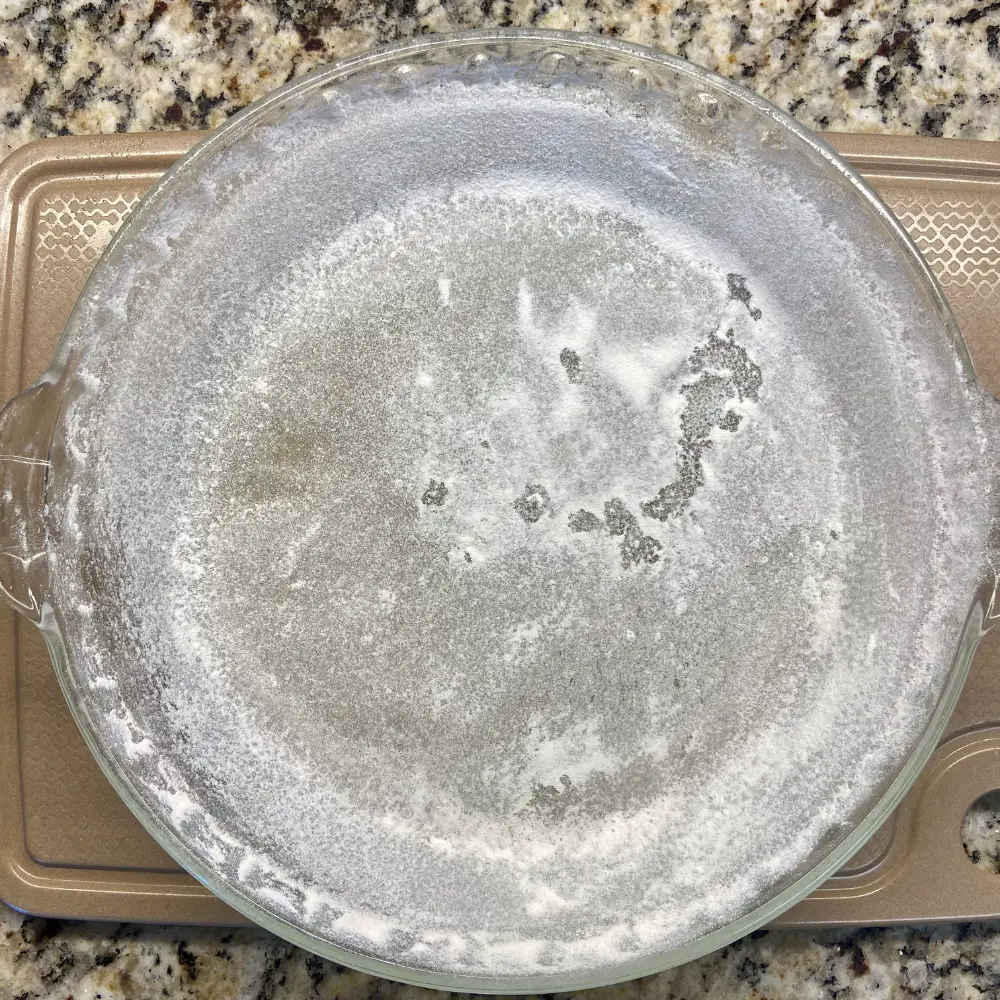
Take a 9″ pie plate and coat it with nonstick cooking spray.
Put about 1 Tbsp of flour (doesn’t matter if it’s all-purpose or self-rising) in the pie plate and kind of swirl it around until the entire pie dish is dusted in flour.
Just discard any flour that doesn’t stick.
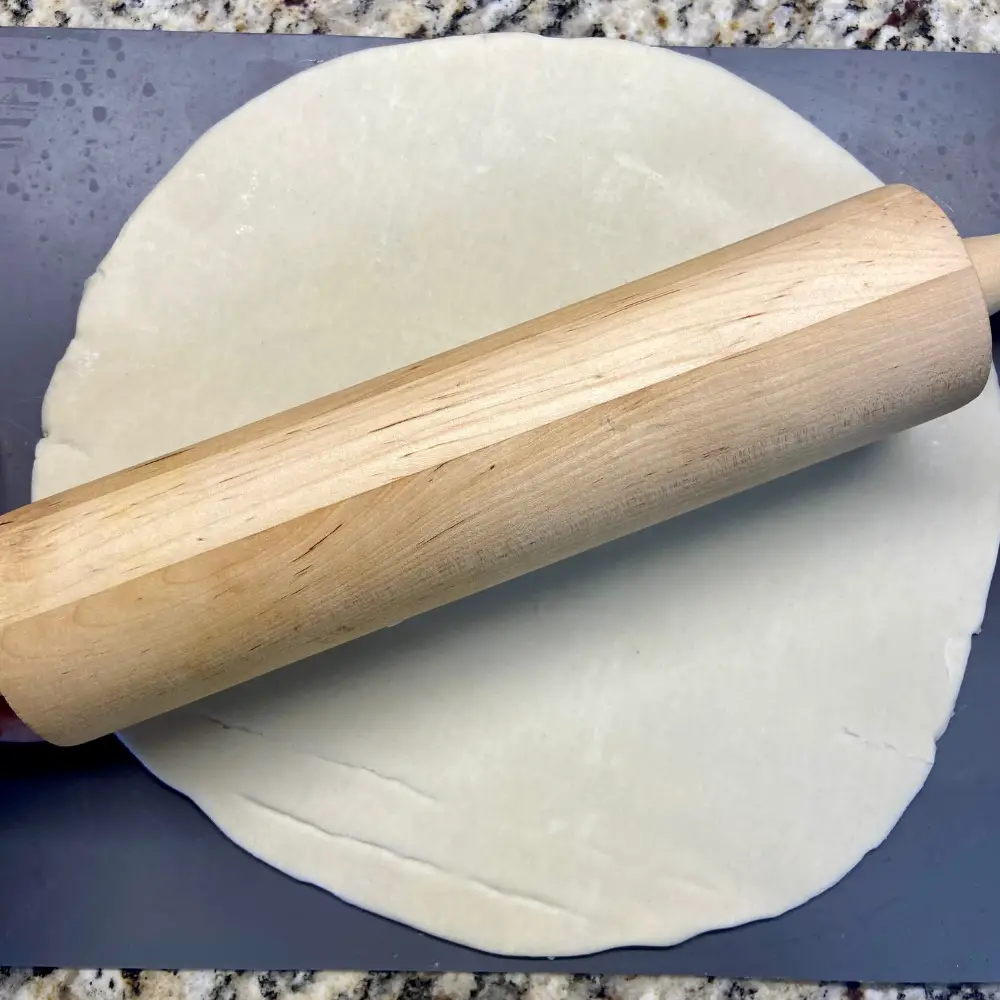
Open and unroll one of your pie crusts. If it doesn’t stay completely together it’s no problem at all. Lightly dust your surface (counter or dough mat) with a little bit of flour.
It’s not a must to dust your surface but I recommend it because I did not (as you can see below) and the crust tore when I went to peel it off my mat defeating the whole rolling it out purpose. I know I’m such an idiot, but whatever.
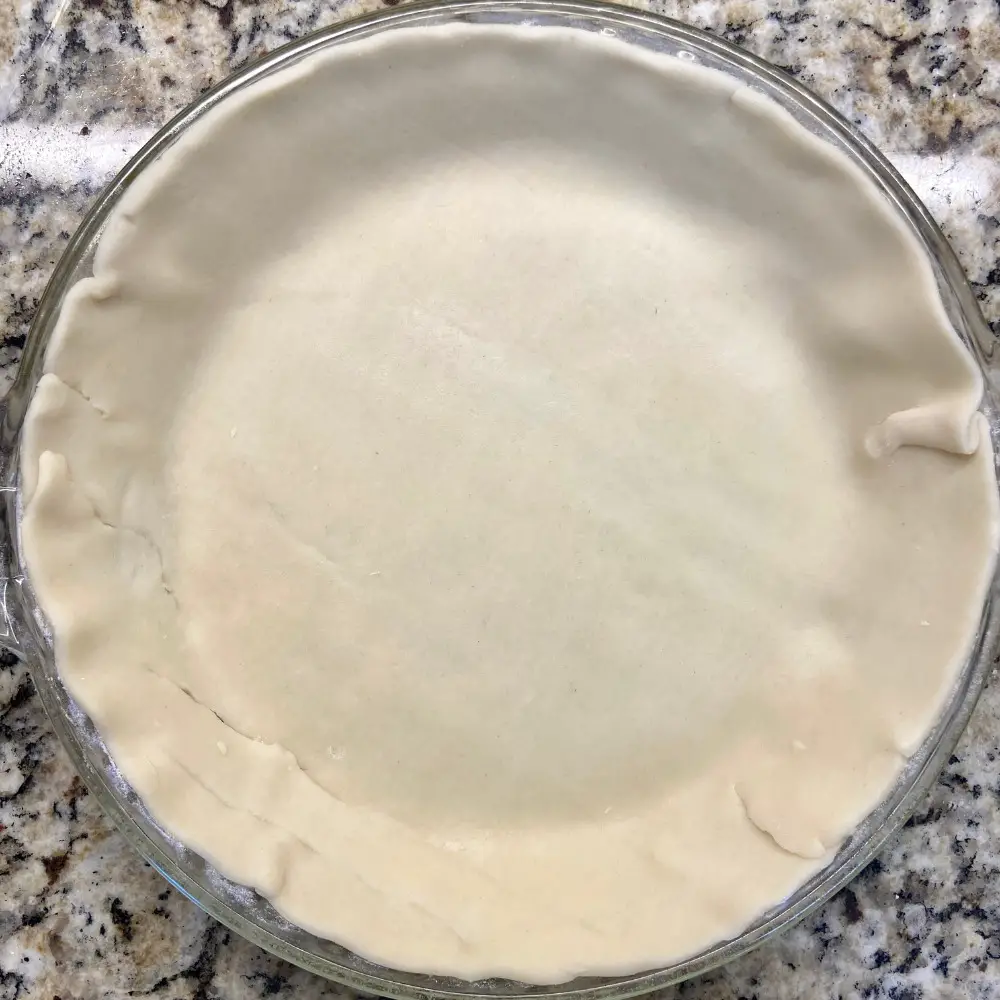
Now take a rolling pin or a smooth round cup and just roll it back together. Then gently place the pie crust into your pie dish, smoothing it out around the edges as best as you can.
I’m no Paula Deen, so my pie isn’t the most beautiful thing you have ever seen but I assure you it does taste absolutely amazeballs!
Set your pie crust aside for a hot minute because now we are moving on to the cherry pie filling! NUM NUMS!
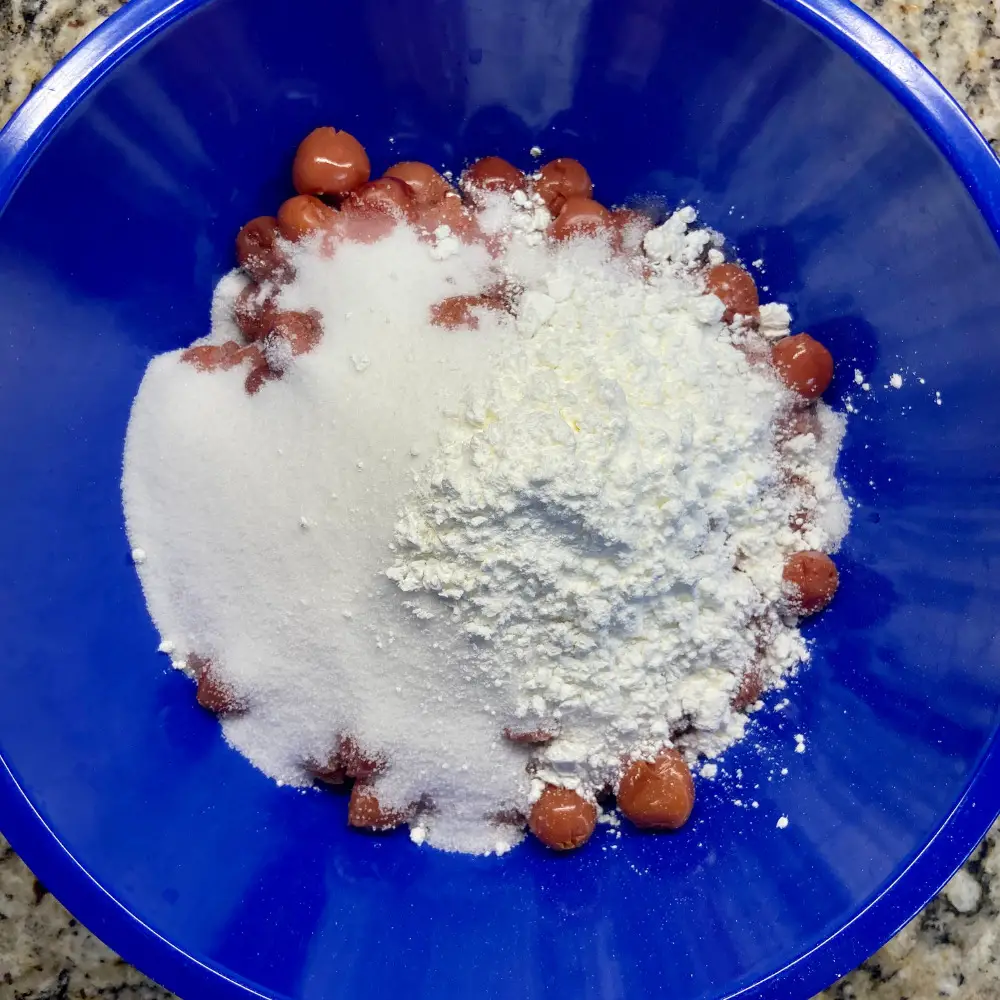
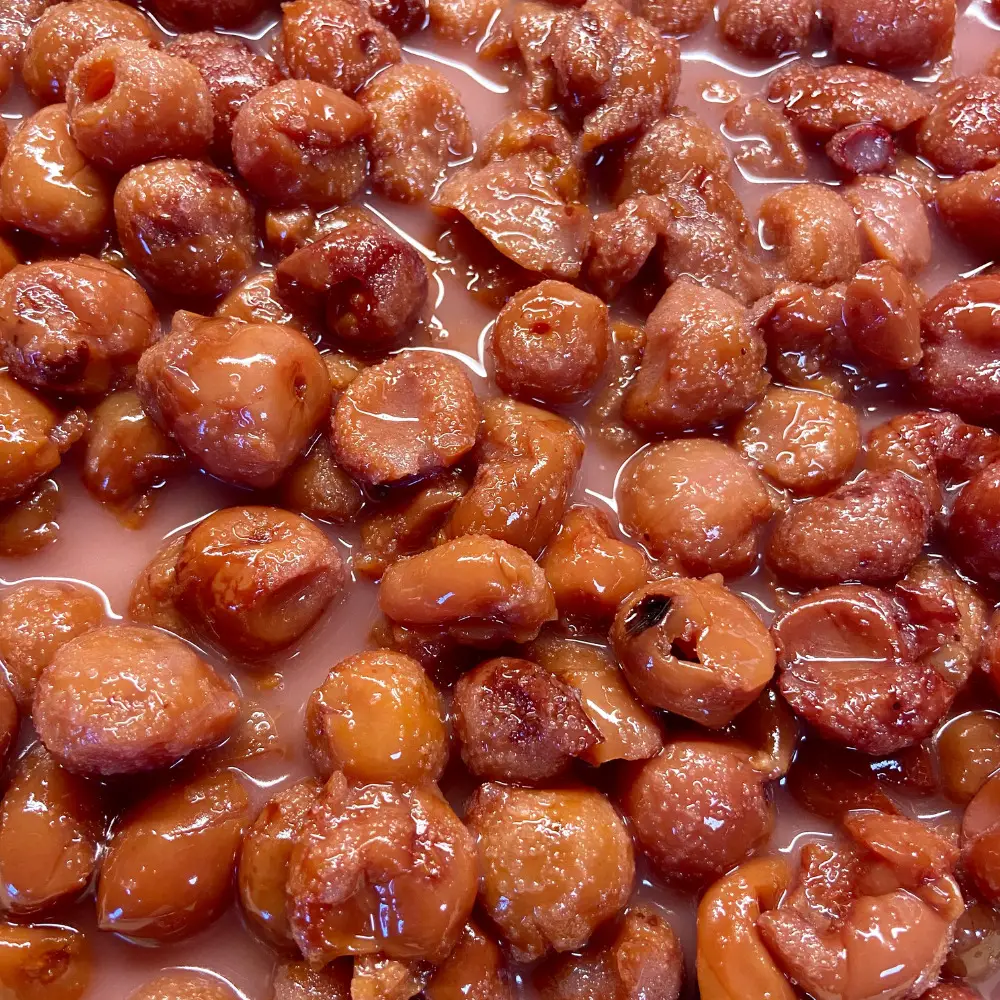
Take a colander and drain all three cans of red tart cherries. And no, I don’t bother to rinse them.
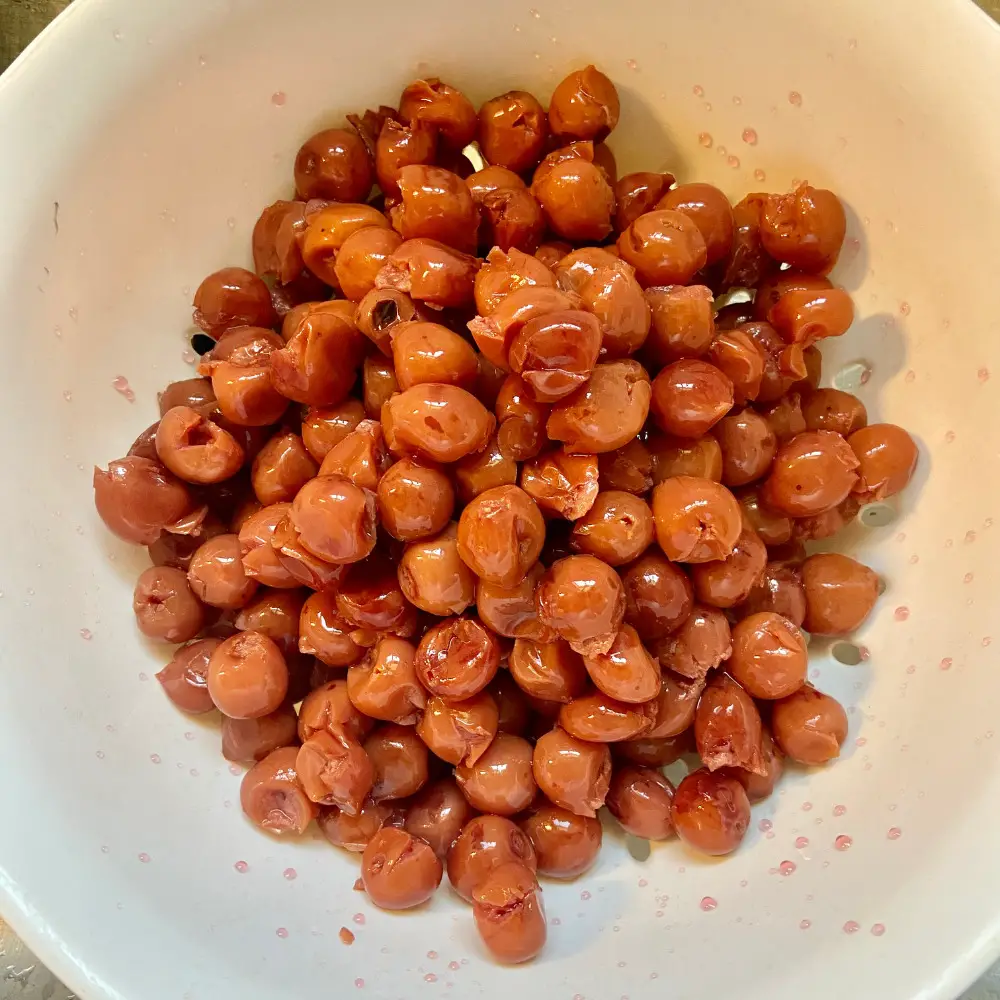
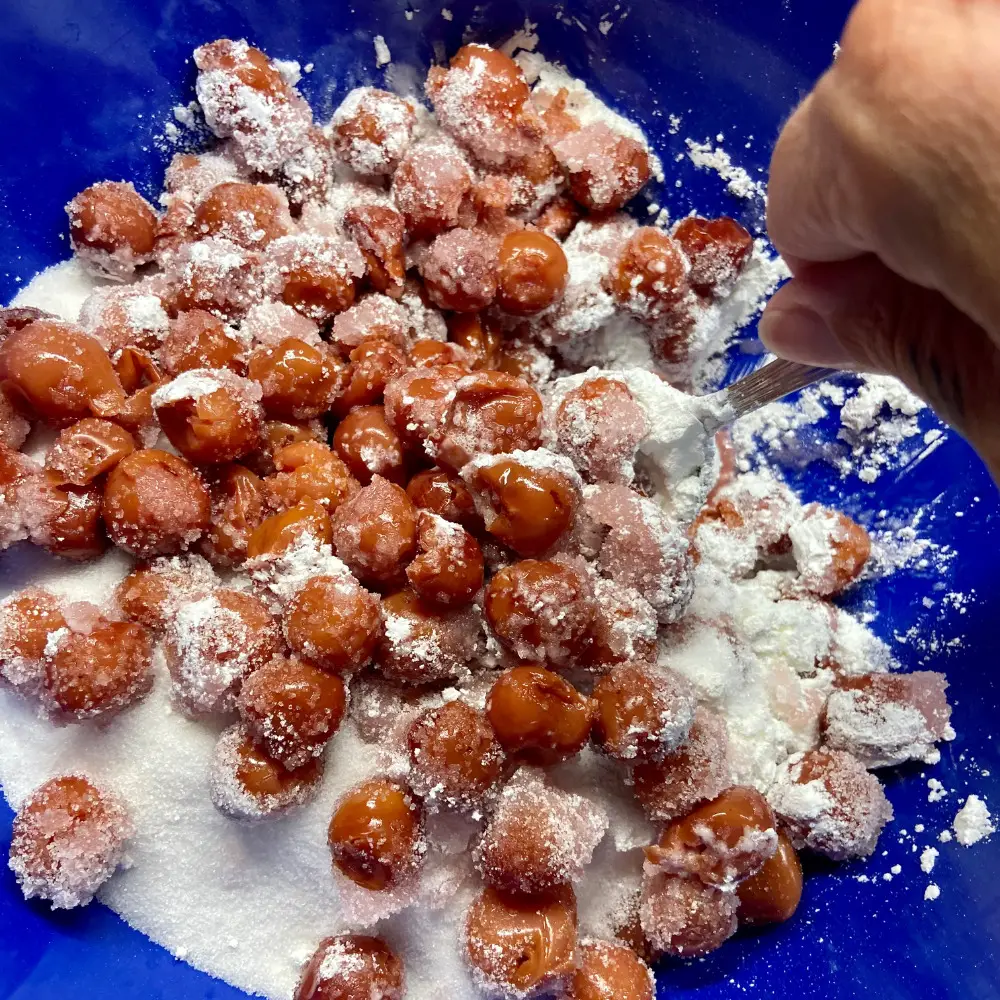
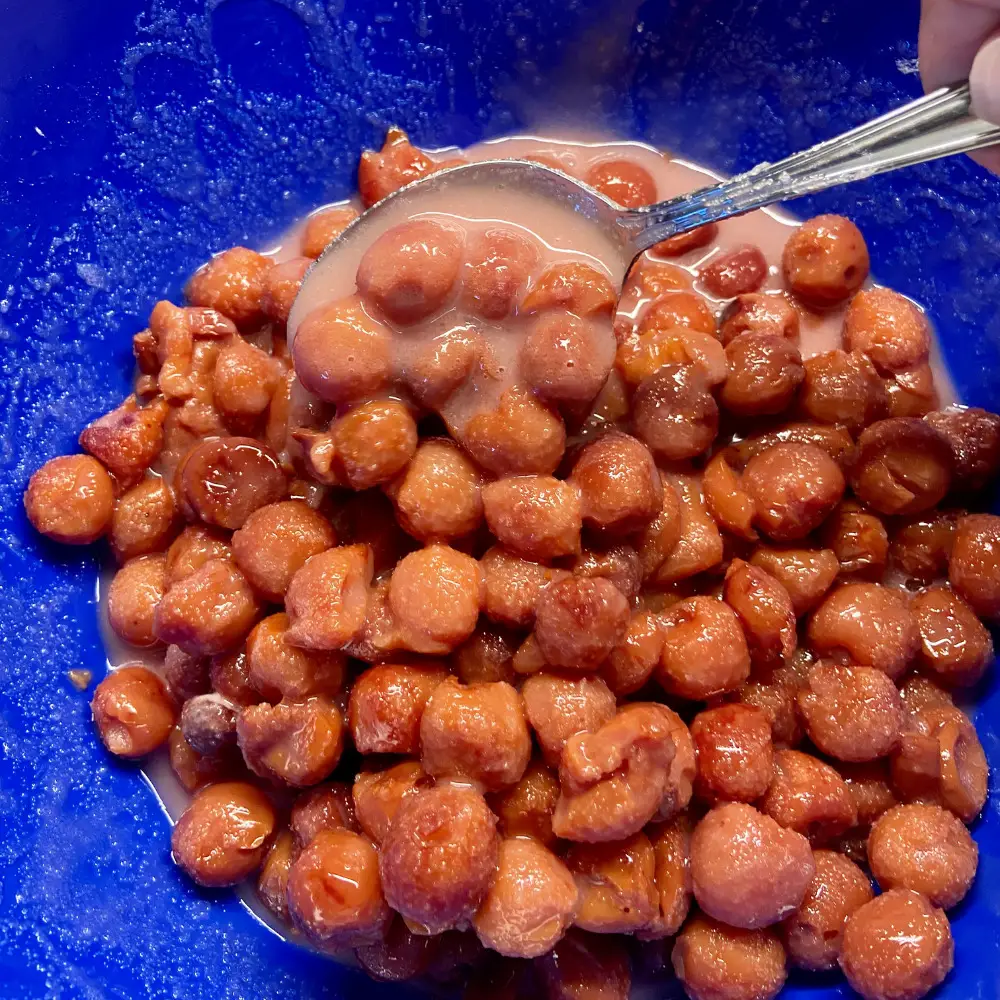
In a medium-sized bowl add your drained cherries, 1 1/2 cups sugar, and 1/3 cup cornstarch. Mix all of that together really well until it’s turned into a soupy-like consistency.
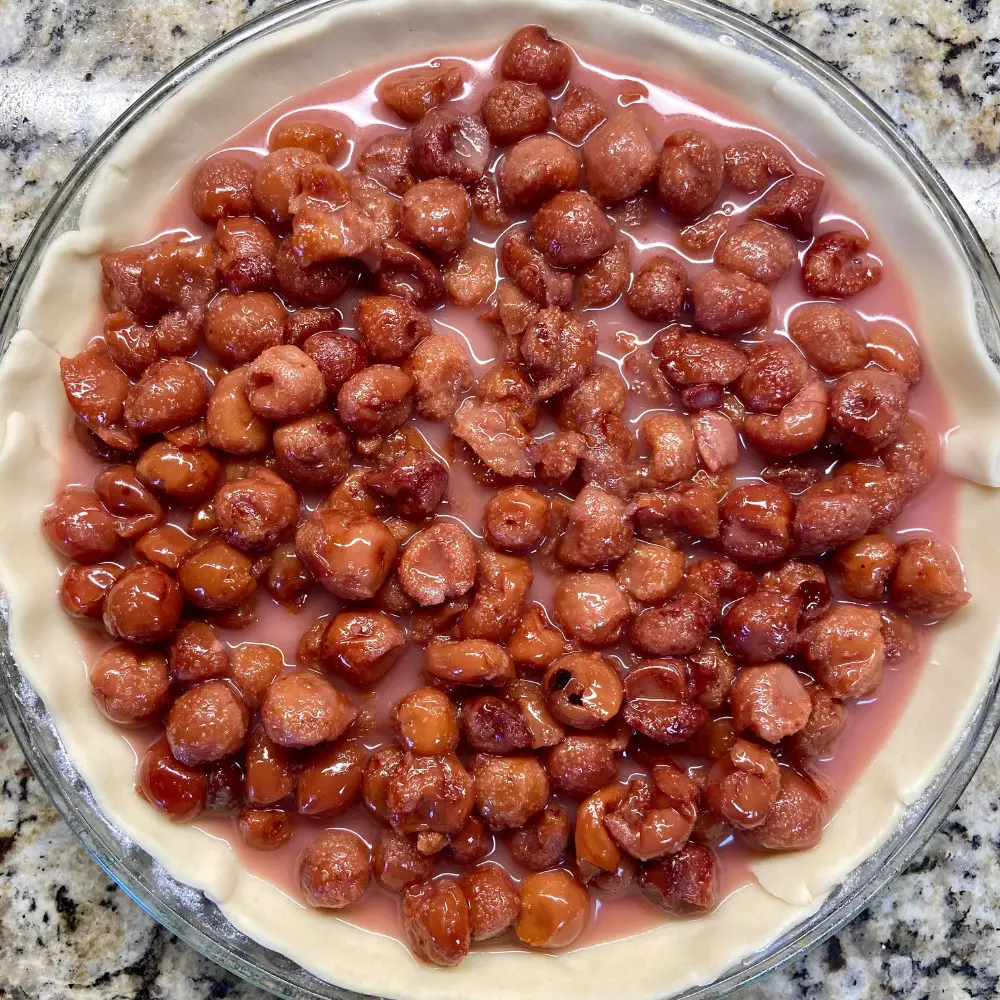
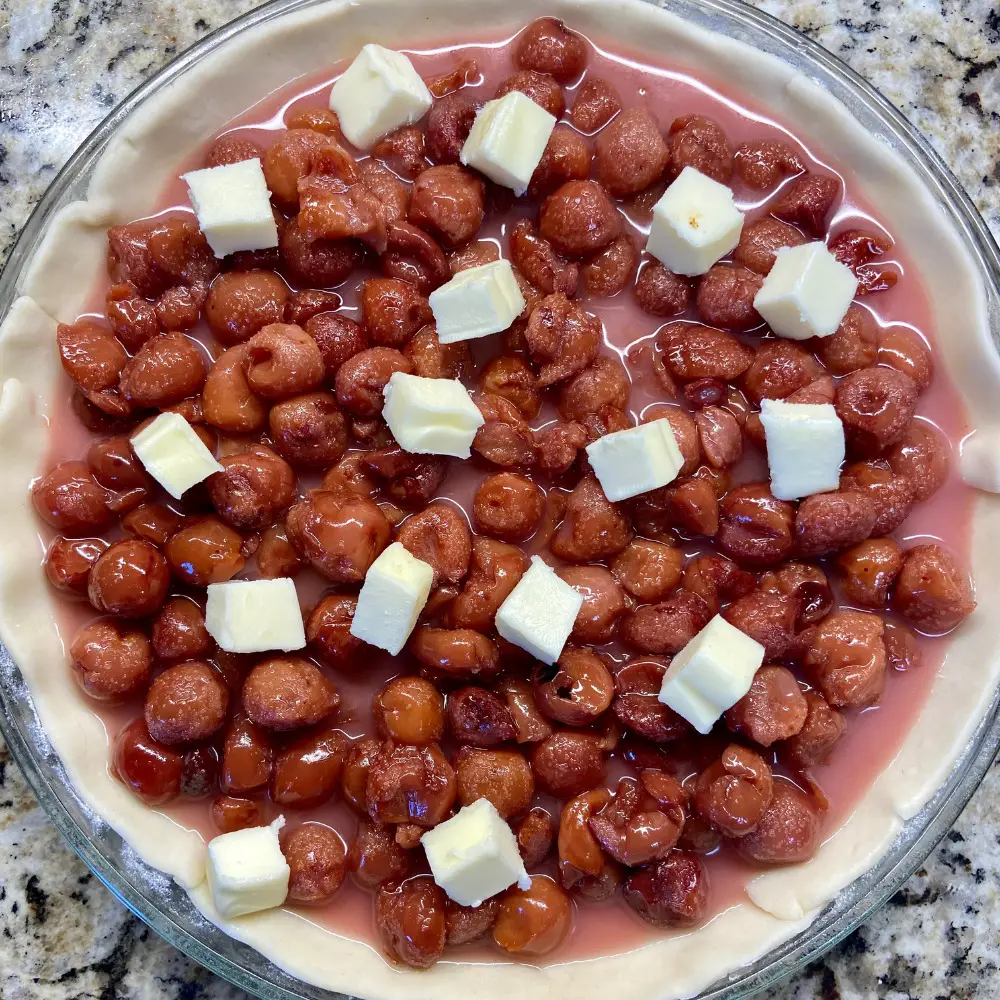
Next, pour your cherry concoction into your pie dish that should already have one pie crust placed in it.
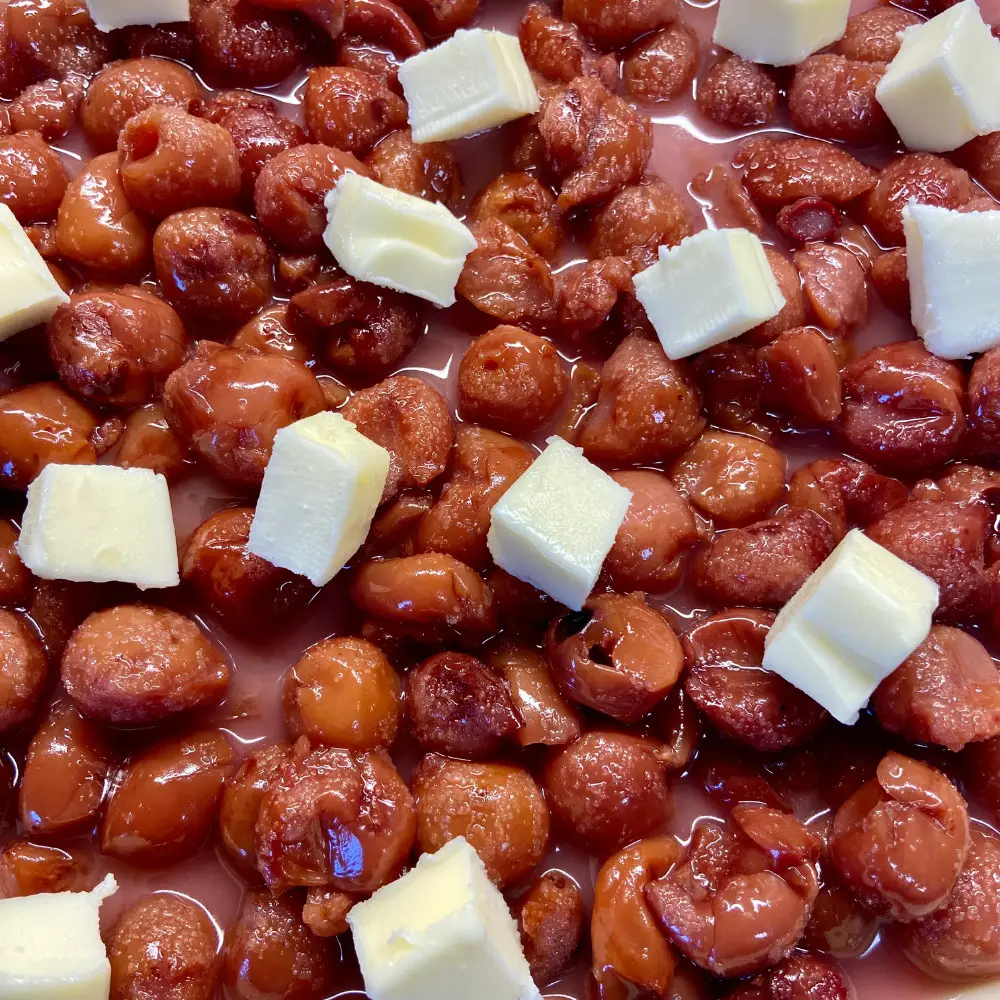
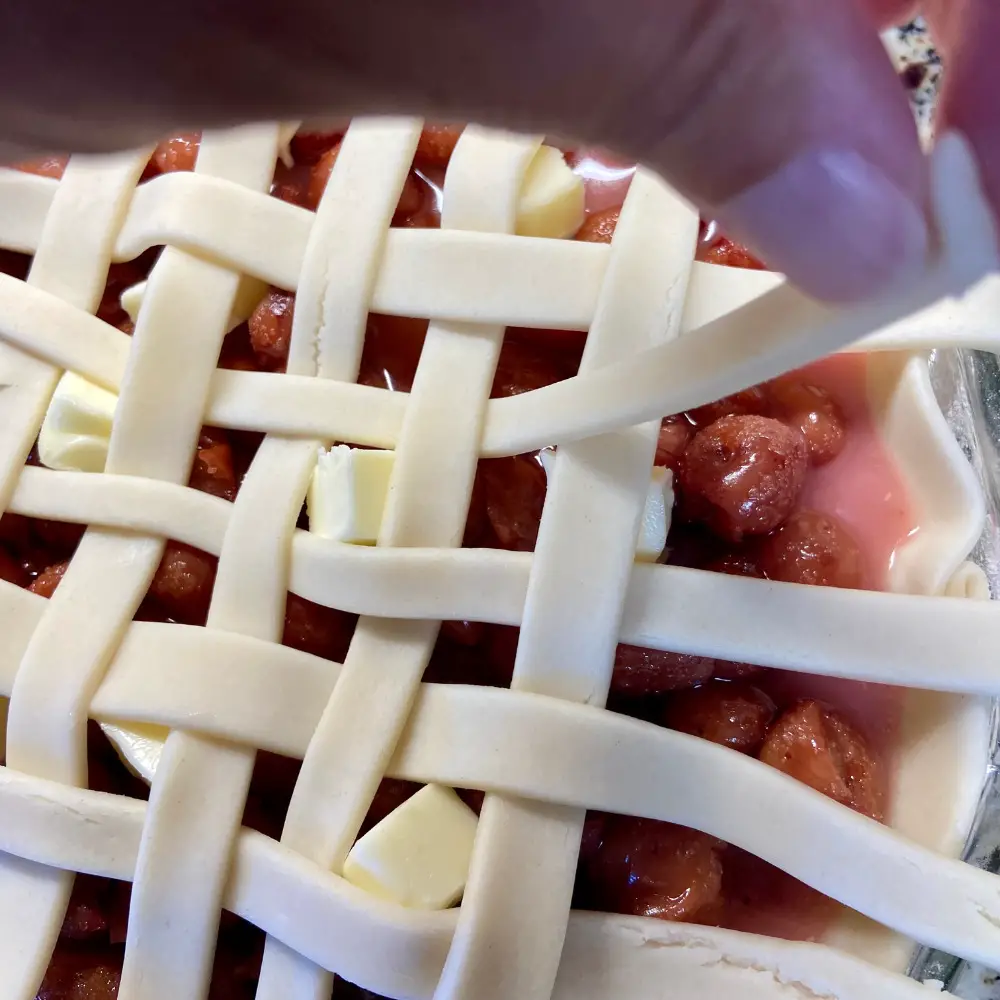
Take 3 Tbsp of butter and cut them into smaller pieces and place them all over the top of the best cherry pie you will ever taste, (wink).
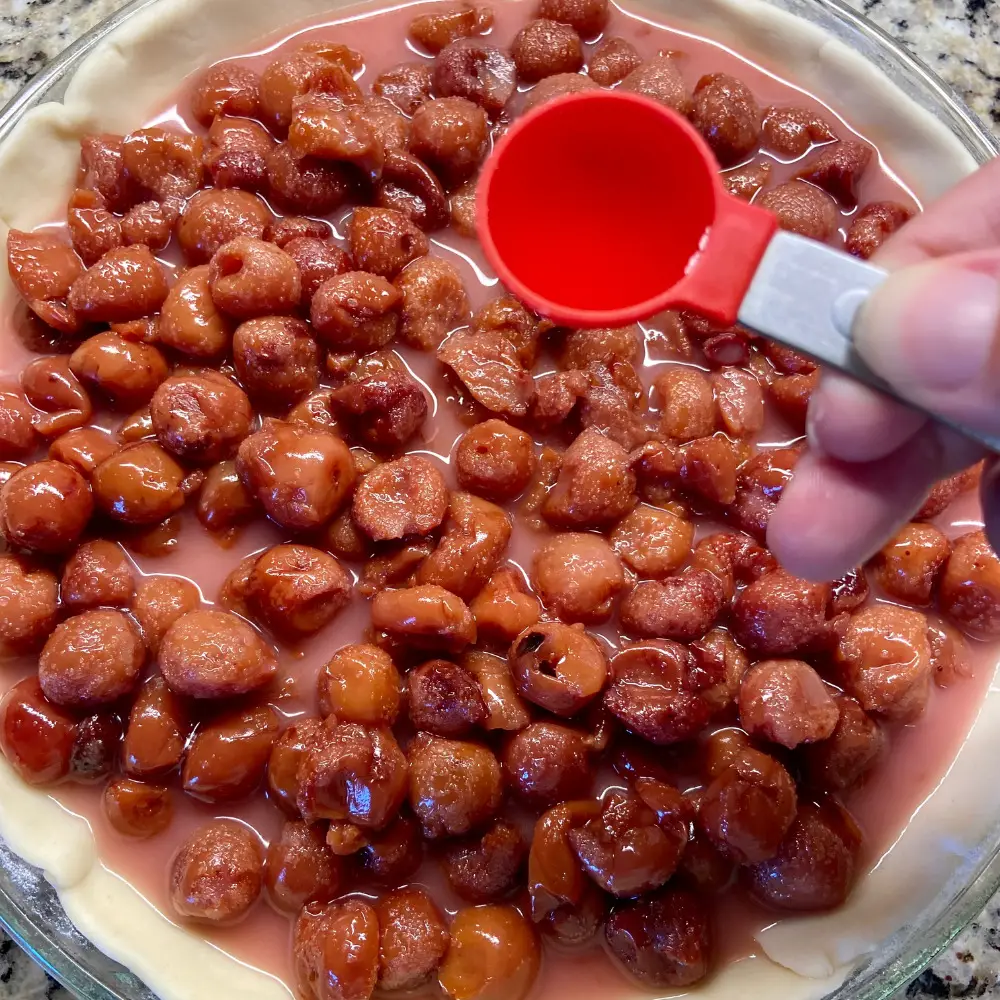
Next, take 1 Tsp of Almond Extract and drizzle it all over the top of your cherry pie filling.
Last but not least, we add a second pie crust on top.
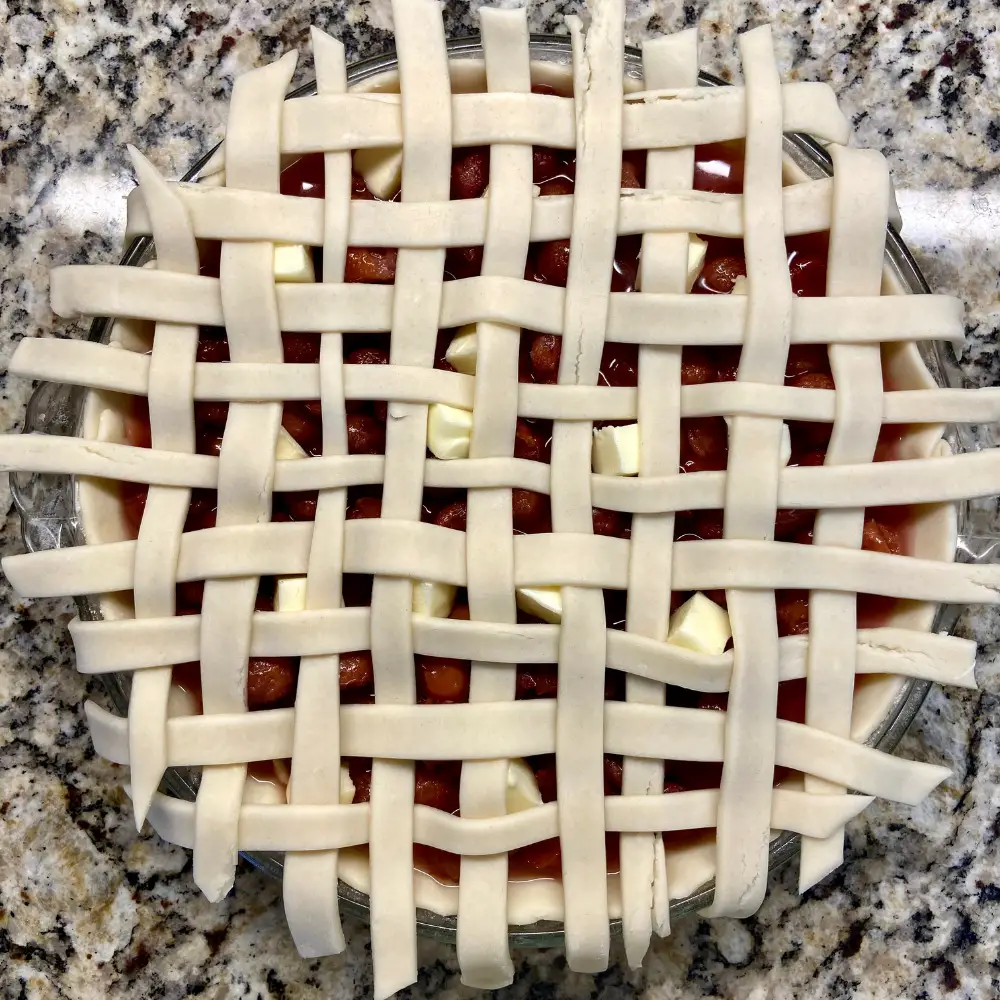
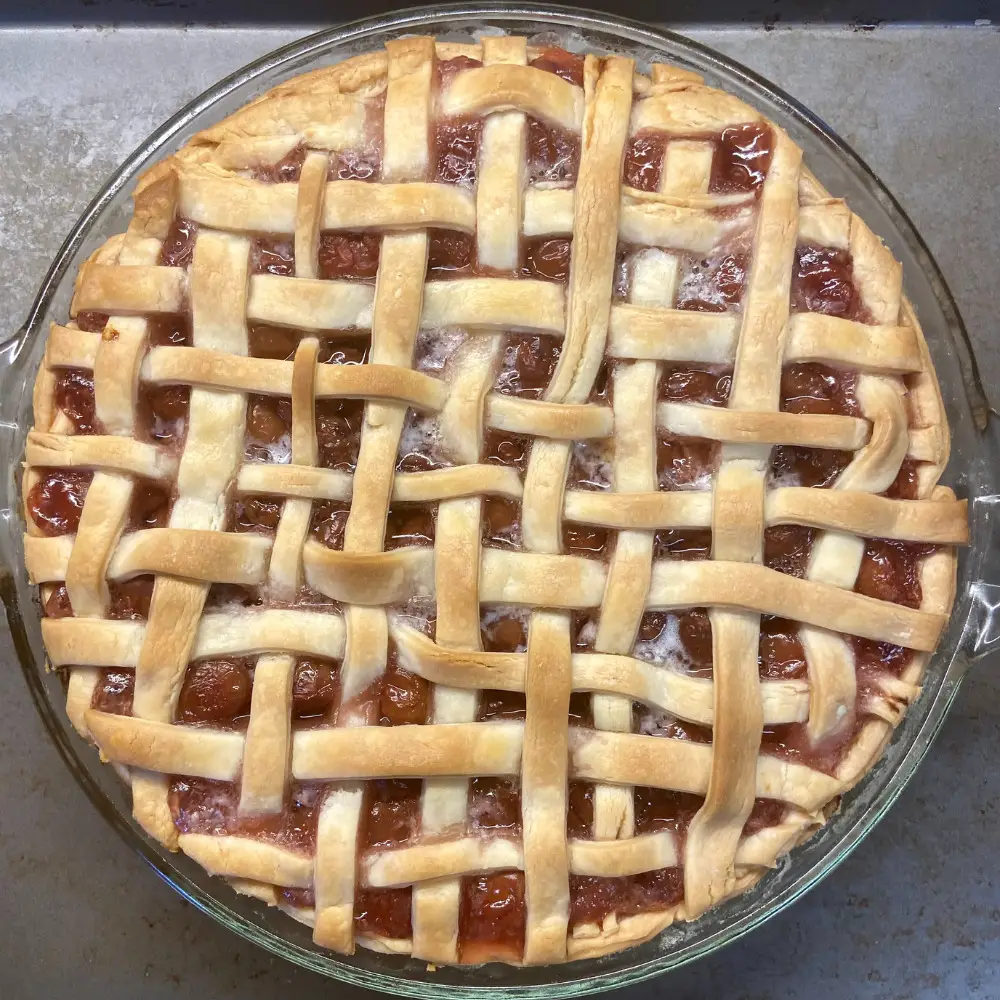
This last step can be done in a number of ways. I typically shoot for the traditional basketweave but every now and then I make it fun by cutting out little shapes with my mini cookie cutters.
Then place the shapes all over the top of the pie guts. This is really fun for the holidays.
FYI, this is a dessert you want for the holidays!
Then there are times I’m right out lazy and will place the whole second pie crust on top and cut little slits in the center.
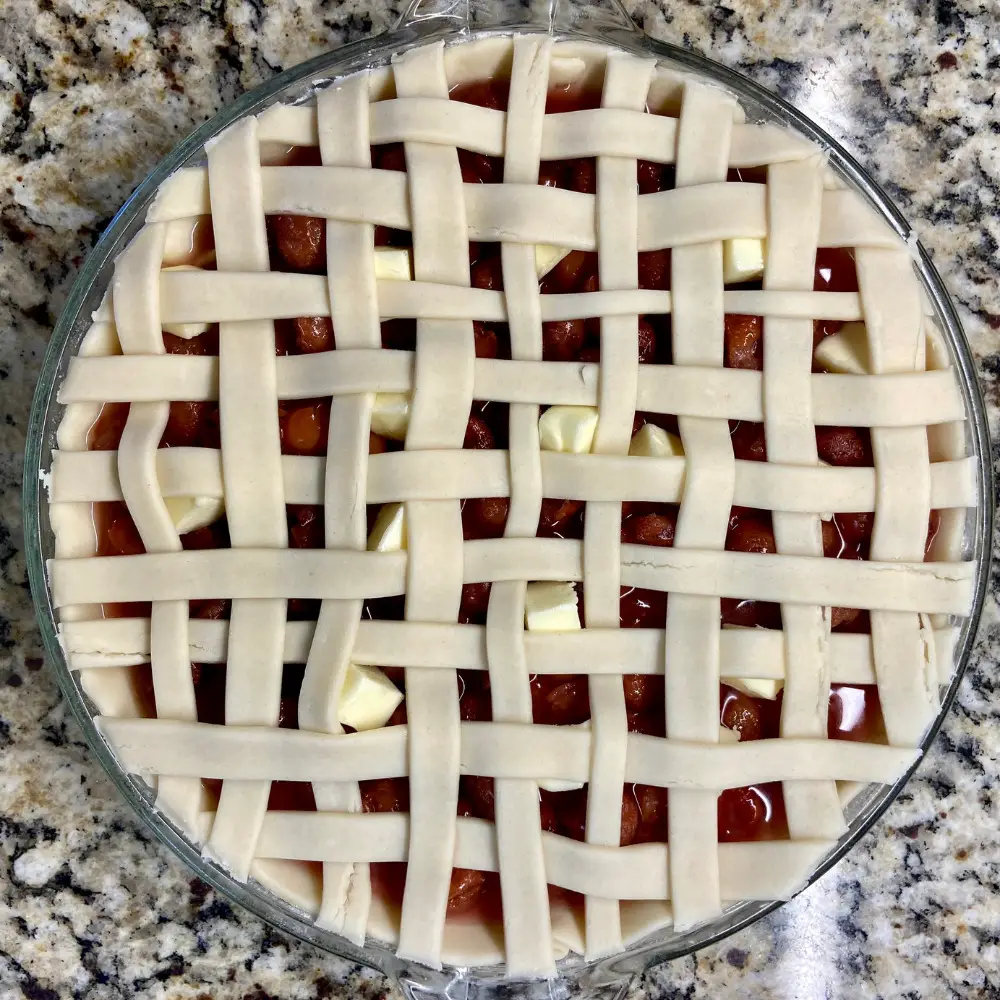
Honestly, you can do whatever your little heart desires. As you can see I went with the basketweave.
You just lay it out flat and cut it into slits. I used a pizza cutter to do this. Gets the job done in no time.
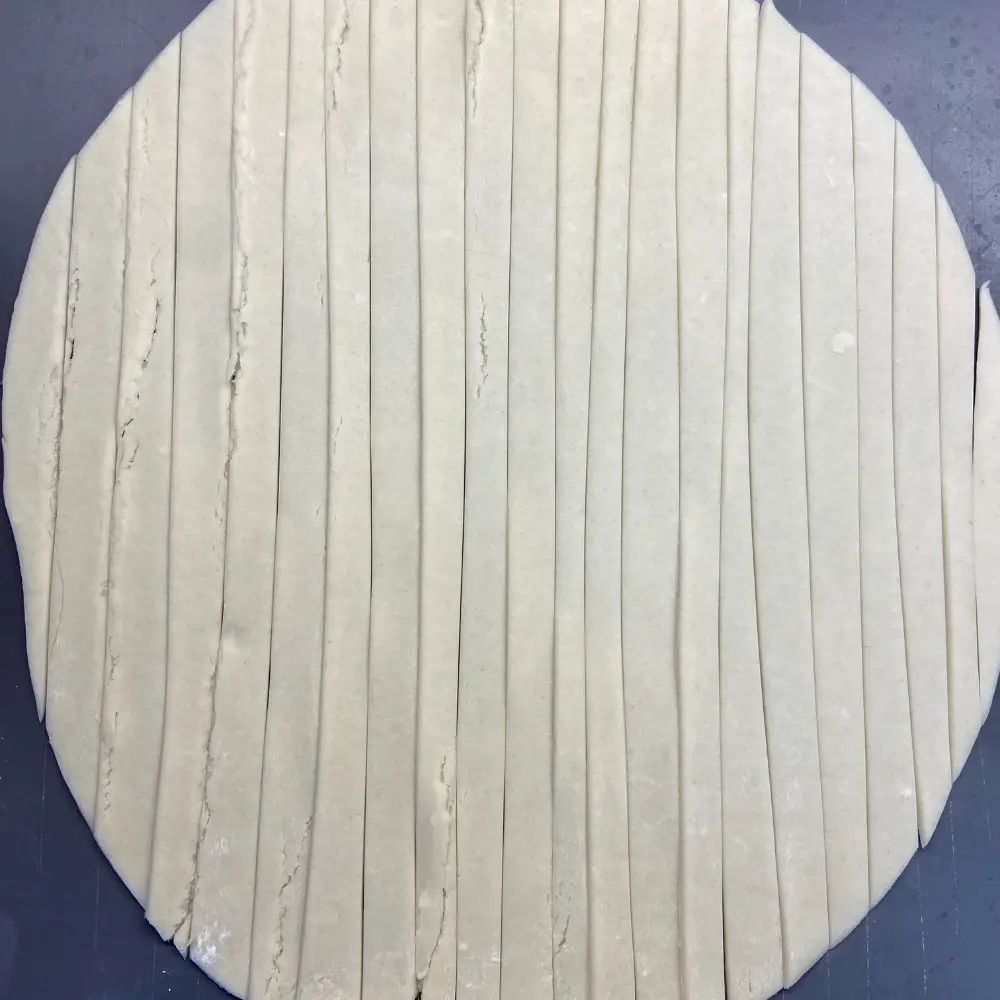

You don’t necessarily have to weave them in and out. Some will just lay a row one way then the other row the other way. Easy Peasy.
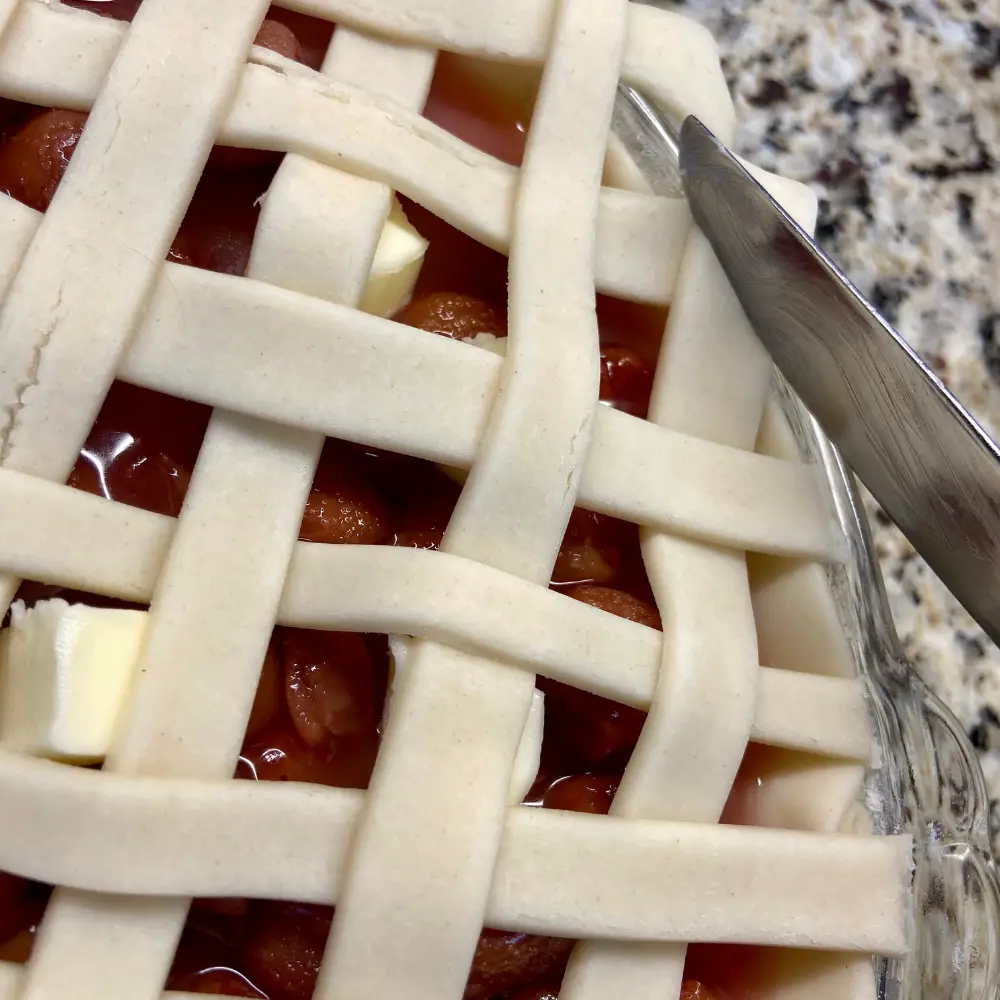
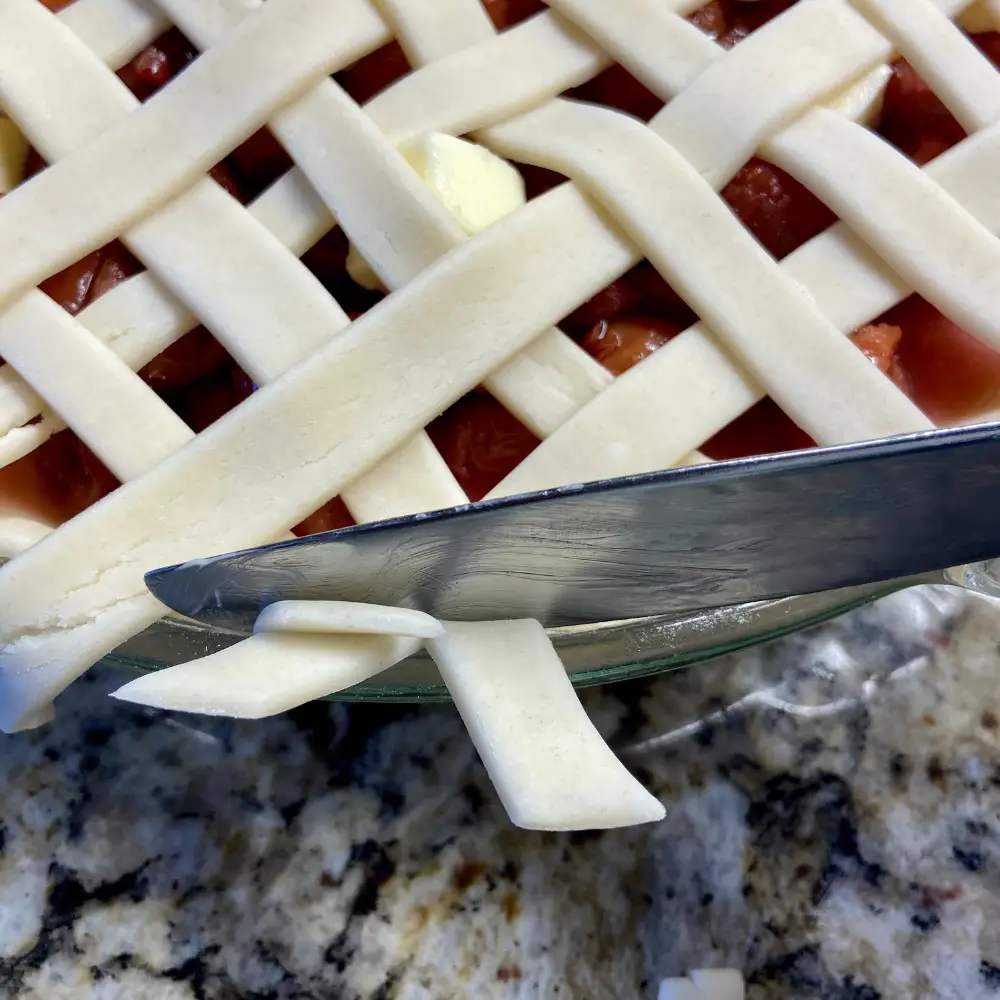
You will more than likely have rows of pie crust hanging over the edges. No worries. I just take a knife and cut those little pieces off.
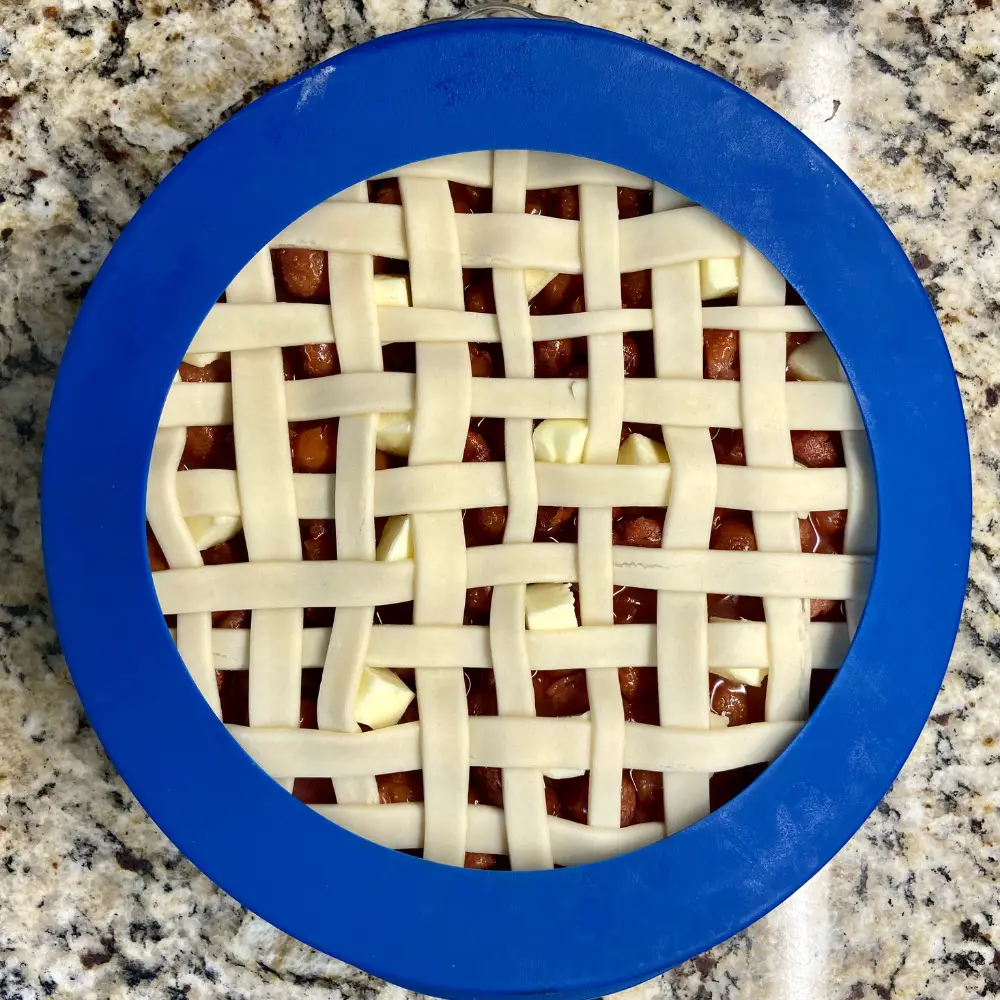
Once you have made your pie beautiful the last thing you need to do before placing it in the oven is to add a pie crust protector. If you do not own one of these, not a big deal.
I didn’t have one for the longest time. So I would just take tinfoil and go around covering the outside edges.
I also like to place my pie on a baking sheet just in case any of the cherry pie filling bubbles over.
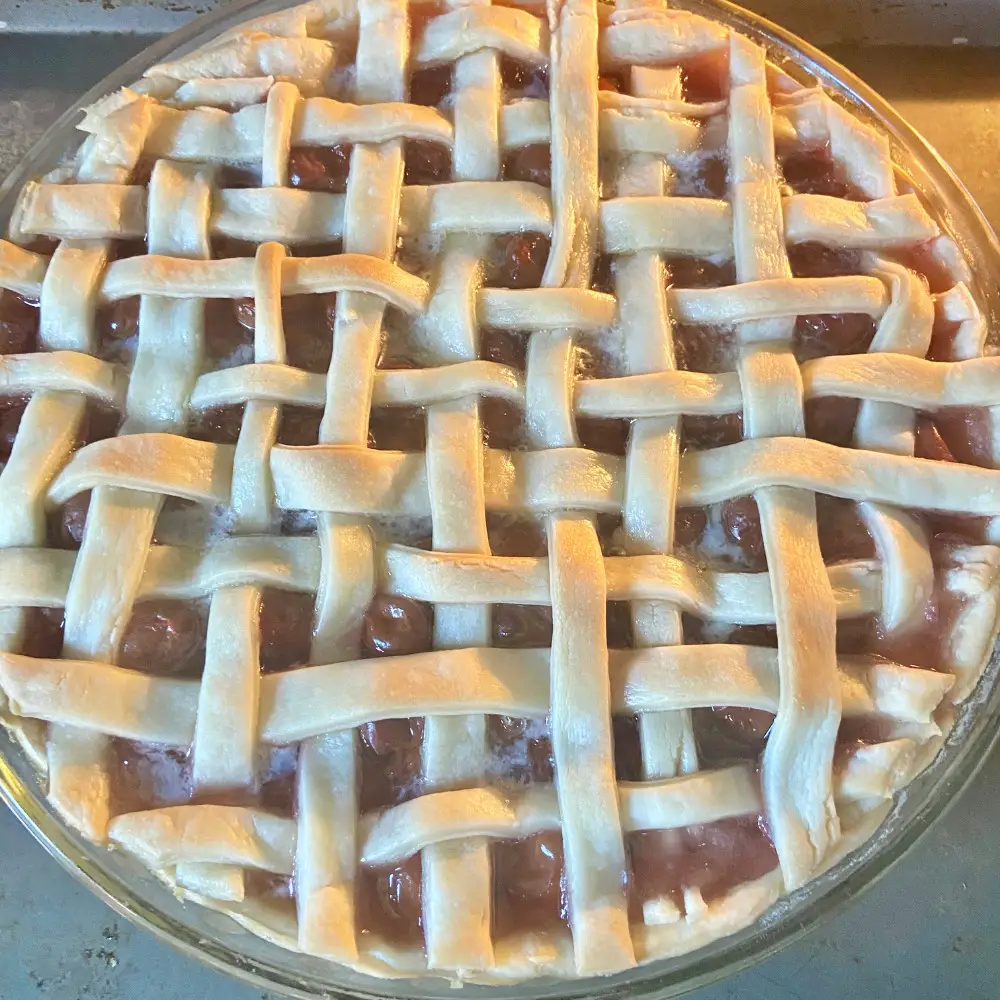
Bake at 425° for 30 minutes. After the 30 minutes remove your pie crust protector and bake for another 15-20 minutes or until you have a beautiful golden brown pie.
That’s it, my friend. We let it sit for a couple of hours before digging in just because if you cut into it now it will be so runny. But it will still taste absolutely amazeballs.
We cut into this one a couple of hours after it came out of the oven and you can see it’s still quite runny.
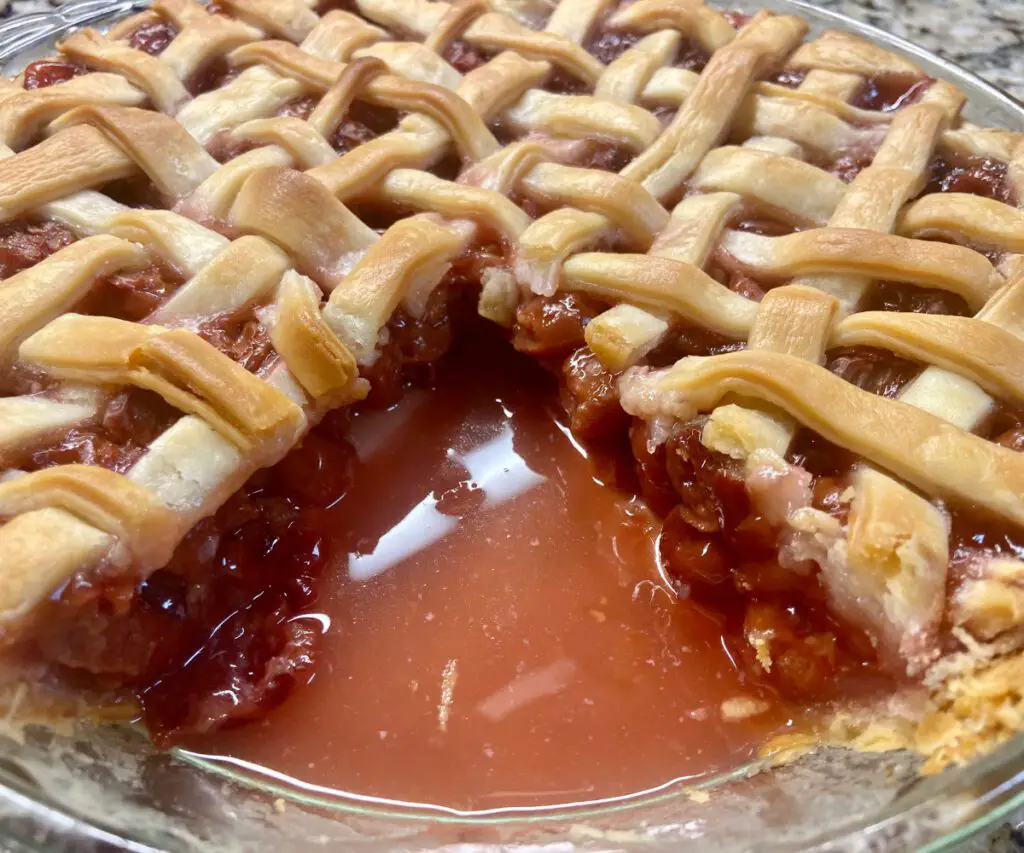
I try to make it earlier in the day for this reason, so it will be ready to dig in after dinner. My mother-in-law will make all her pies the day before a family gathering.
But again, we have even started cutting into it immediately after it comes out of the oven. So you do you boo!
Whipped cream, Cool Whip, or even vanilla ice cream are wonderful with this fantabulous homemade cherry pie! Enjoy!


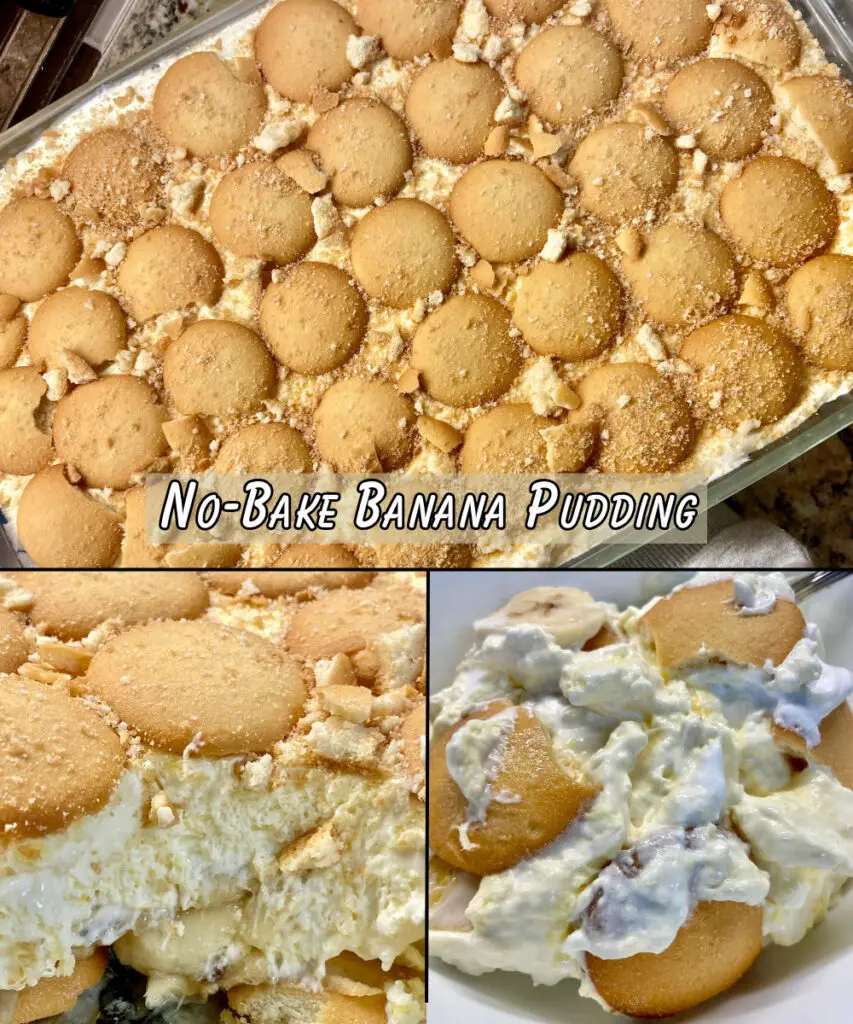
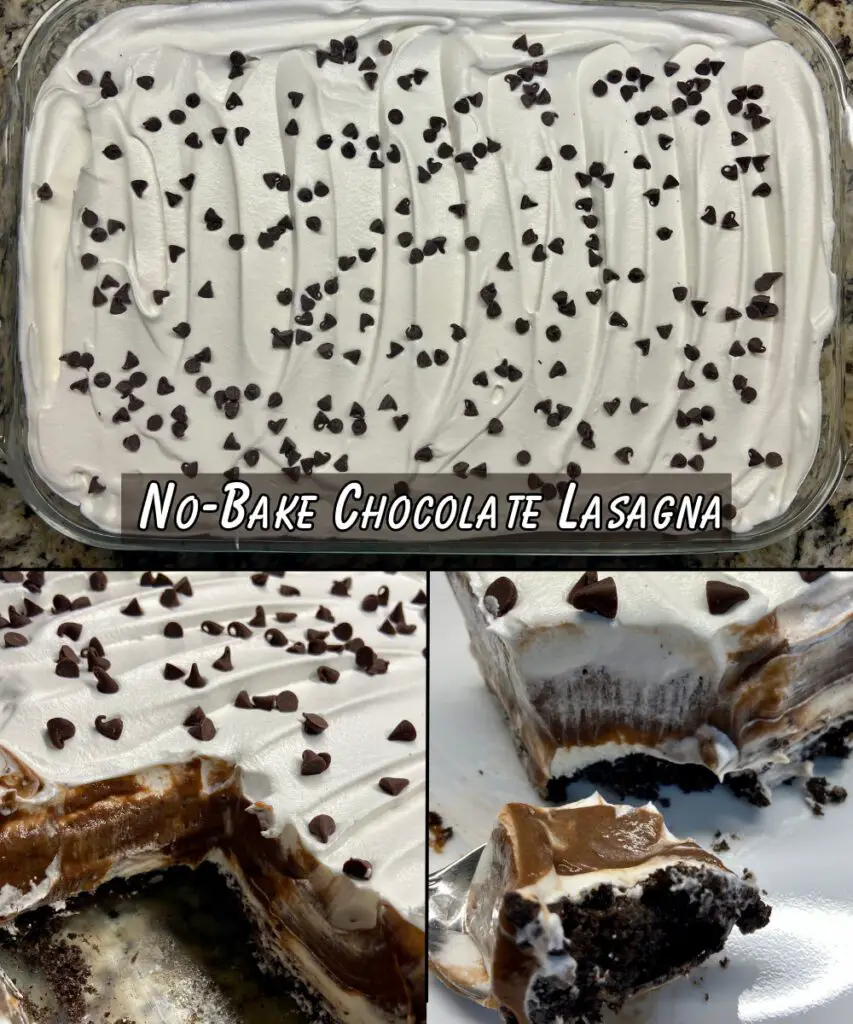
Here are two more of our favorite dessert recipes that my crew absolutely LOVES.

Cherry Pie
Equipment
- 9" Pie Dish
- Pie Crust Shield (tinfoil works also)
- Medium Sized Bowl
- Colondar (optional)
Ingredients
- 3 Cans (14.5oz) Red Tart Cherries (Drained)
- 1 Box (2ct) Premade Refrigerated Pie Crust
- 1½ Cups Sugar
- ⅓ Cup Cornstarch
- 1 Tsp Almond Extract
- 3 Tbsp Butter
- Nonstick Spray
- 1 Tbsp Flour
Instructions
- Preheat your oven to 425°
- Spray your pie dish with nonstick spray. Add about 1 tbsp of flour and swirl it around inside the dish to coat it so that it looks dusted. Discard any flour that didn't stick.
- Line your pie dish with one of the crusts.
- In a bowl add your drained cherries, sugar, and cornstarch. Carefully stir to evenly coat your cherries.
- Pour your cherry mixture in your pie dish.
- Sprinkle almond extract over your cherry mixture and dot with butter throughout.
- Lay your 2nd pie crust out on wax paper dusted in flour, parchment paper, a cutting board or your counter.
- Either cut into strips to lay over your pie weaving it together like a basket. Or lay the whole thing on top cutting small slits in the center. Or take a small cookie cutter, cut shapes and place them all over the top. Or veto the top crust all together. Do whichever your heart desires.Cut any dough that is hanging off and discard.
- Place the crust protector around the outside edge of your crust or take tinfoil to cover just the outside crust edges. This is so the outer crust doesn't burn. Place on a baking sheet in case it bubbles over.
- Bake in the oven at 425° for 30 minutes, remove the crust protector, and cook for another 15 minutes or until the top crust is a golden brown.
- Once finished baking let it sit for about an hour before serving.Or don't, it will just be extra runny but will tstill taste just as good.
- Enjoy!